How to Modify a Custom Field - Tip87
Article number: 69019
OBJECTIVE or GOAL
Welcome back to Get Empowered! In the last Empower tip-of-the-week post for Empower CDS Software, we learned how to copy a Custom Field from one project to another (Tip #86).
Creating Custom Fields in Empower:
- #82: The basic steps on creating a Custom Field
- #83: How to create a Custom Sample Set Field
- #84: How to create a Component Custom Field
- #85: How to create a Peak Custom Field
- #86: How to copy a Custom Field from one project to another
This week, we will learn how to modify a Custom Field (Part 6).
Let’s get started.
ENVIRONMENT
- Empower
PROCEDURE
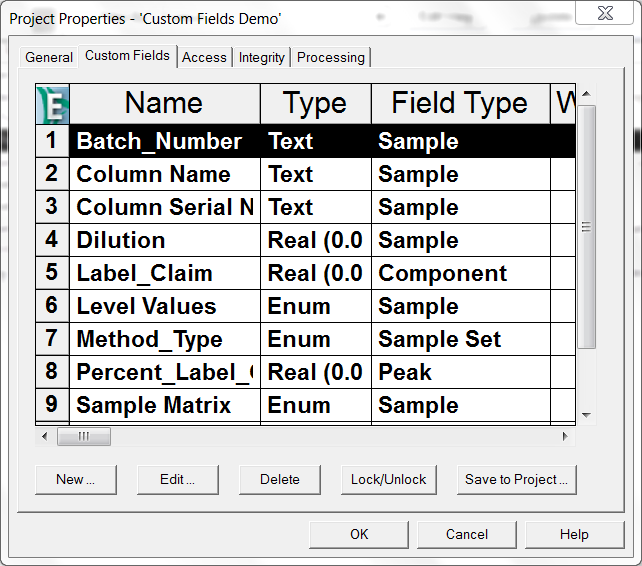
- From the Custom Fields tab of the project properties, highlight the Custom Field you want to edit (in this case, a Sample Custom Field) and then click Edit.
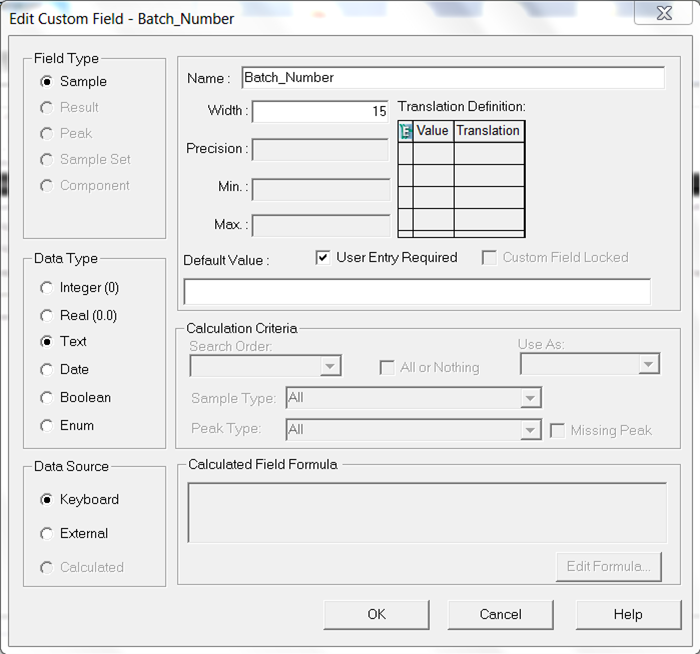
- Make the changes and click OK.
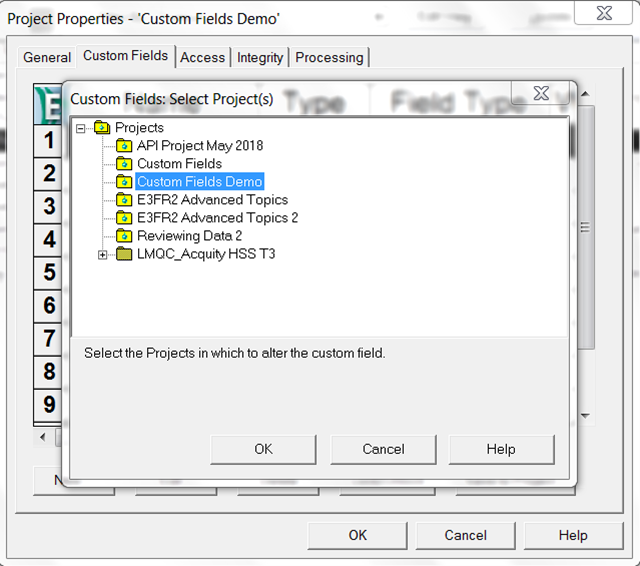
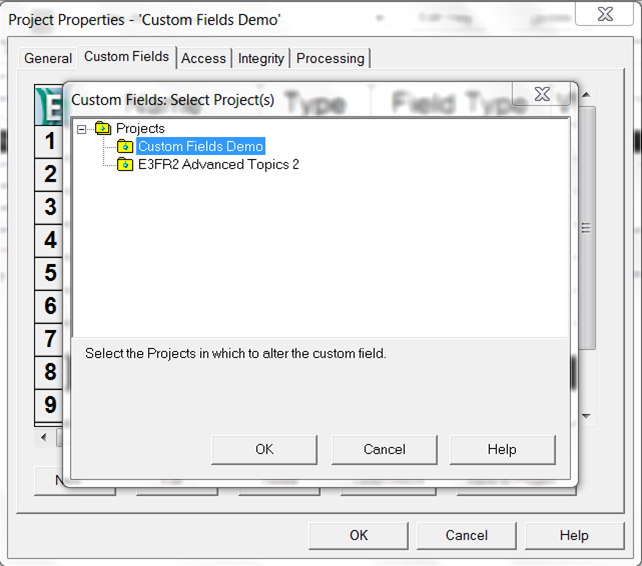
- If the Custom Field lives in more than one project, you will see a list of the projects. Highlight the project or projects you want to save the modified Custom Field into and click OK.
A warning message will appear, click OK. The modified Custom Field has been saved.
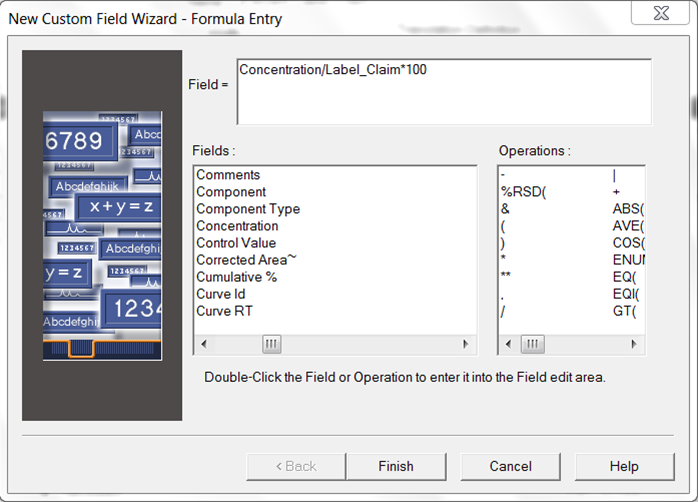
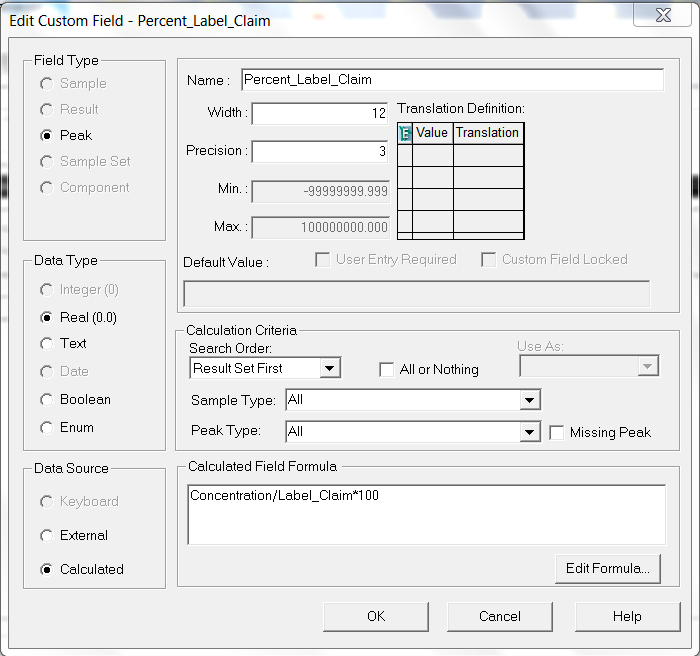
- Now let’s modify a Peak Custom Field, which is a formula. Once again, highlight the Custom Field and click Edit. The formula appears at the bottom of the window. Click Edit Formula.

- Make the changes and click Finish.
- Click OK.
- If the Custom Field lives in more than one project, you will see a list of the projects. Highlight the project or projects you want to save the modified Custom Field into and click OK.
A warning message will appear. Click OK. The modified Custom Field has been saved.
It’s that easy!
ADDITIONAL INFORMATION
- This procedure can be followed using the QuickStart or Pro interface.