How to Create a Custom Field in Empower - Tip82
Article number: 69119
OBJECTIVE or GOAL
Welcome back to Get Empowered! In the last Empower tip-of-the-week post for Empower CDS Software, we learned about using the Result Audit Viewer to understand the differences between multiple results for a sample. (Tip #81)
This week, we will begin a short series on Custom Fields.
A Custom Field is a user defined field (or column) of information in a table. Creating Custom Fields gives us the ability to create tailored sample identifiers and calculations beyond what Empower provides by default. During this series, we will explore the various types of Custom Fields that can be created and provide some practical examples.
Let’s get started.
ENVIRONMENT
- Empower
PROCEDURE
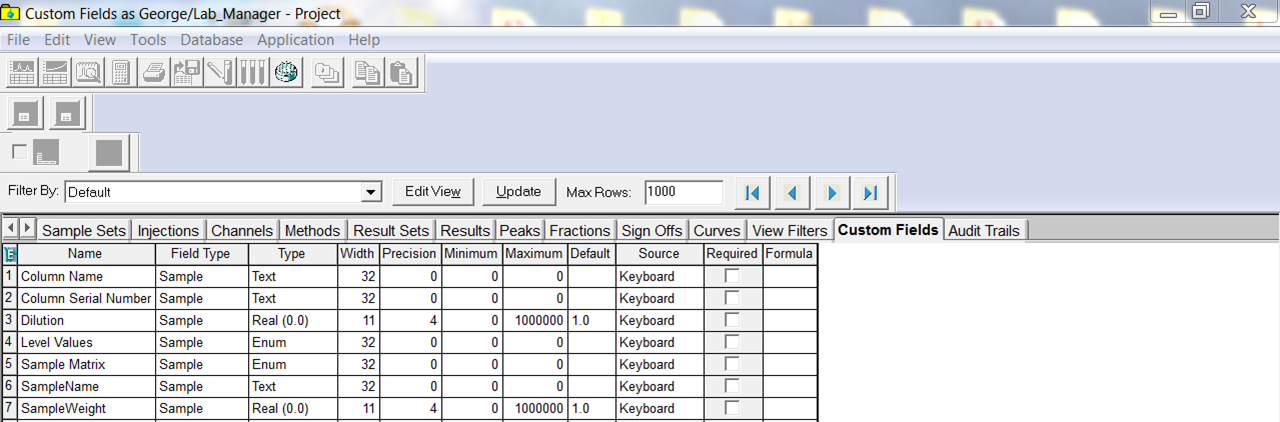
- When you create a new project, there are already seven Custom Fields created for you.
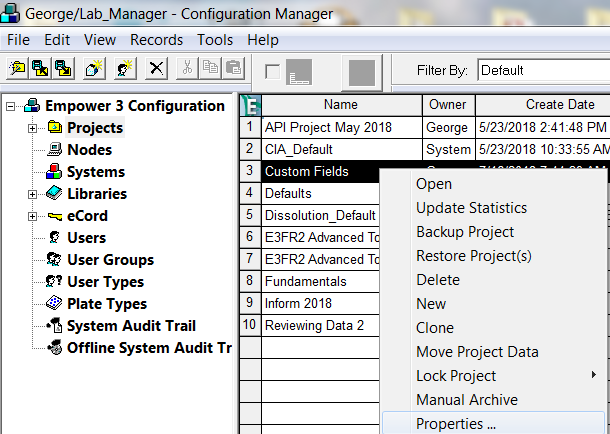
- To create a new Custom Field, close the project, go to Configuration Manager, right-click on the project and select properties.
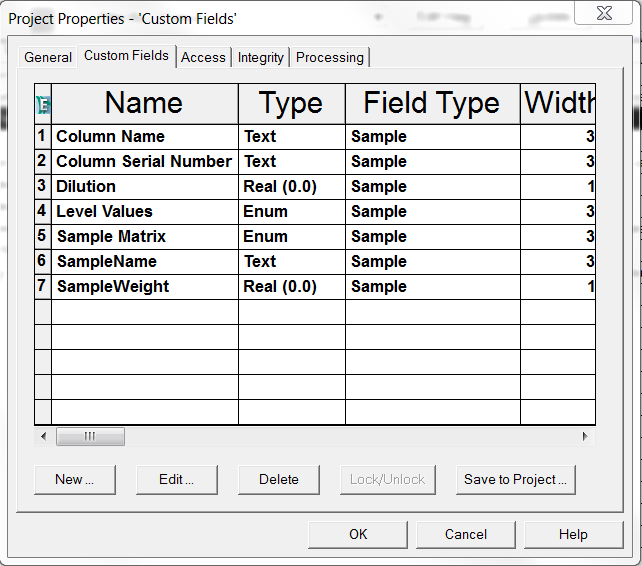
- Click the Custom Fields tab and click New to launch the Custom Field wizard.
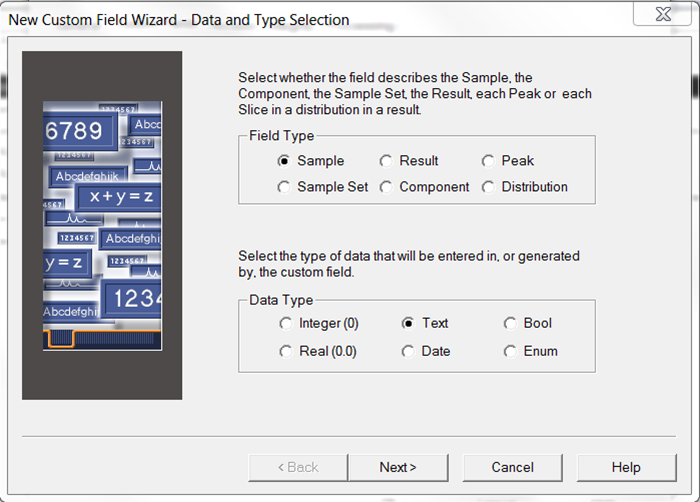
- On the Data and Type Selection screen, you are prompted for two important things – the type of Custom Field you want to create and the data type for that field. Sample fields are typically used as sample identifiers. For this example, let’s create a simple Custom Field for batch number. Select Sample for field type and Text for data type. Click Next.
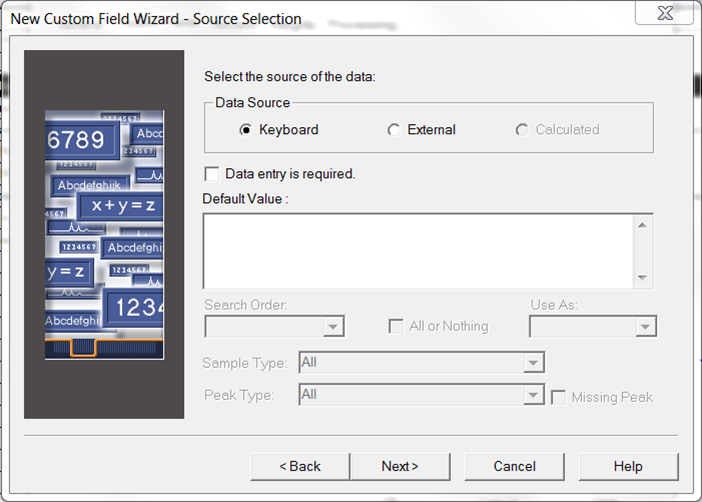
- On the Source selection screen, select where the information comes from, i.e., keyboard entry or an external source like a Tookit application, the option to make entry in the field mandatory and the option to have a default value appear for this field. For this example, we will leave the default selections and click Next.
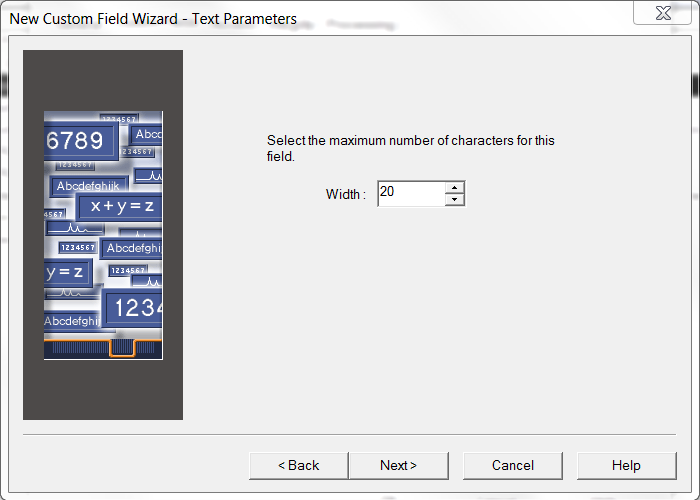
- On the Text Parameters screen, enter the desired width for the column of information and click Next.
- On the final screen, enter a name for the Custom Field. You cannot use spaces in Custom Field names but you can use shift + underscore as in the example. Click Finish to save the Custom Field in the project.

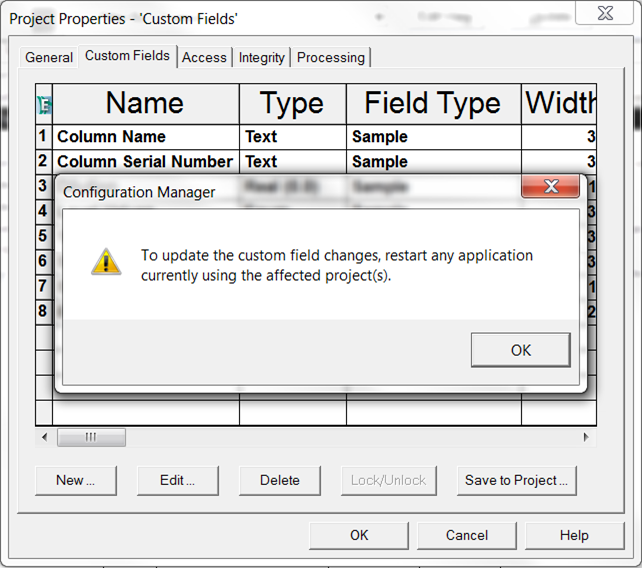
- Every time you create a Custom Field and click Finish, you will see this warning message. This means that you have changed the properties of the project and you should close/reopen the project for these changes to take effect. Click OK.
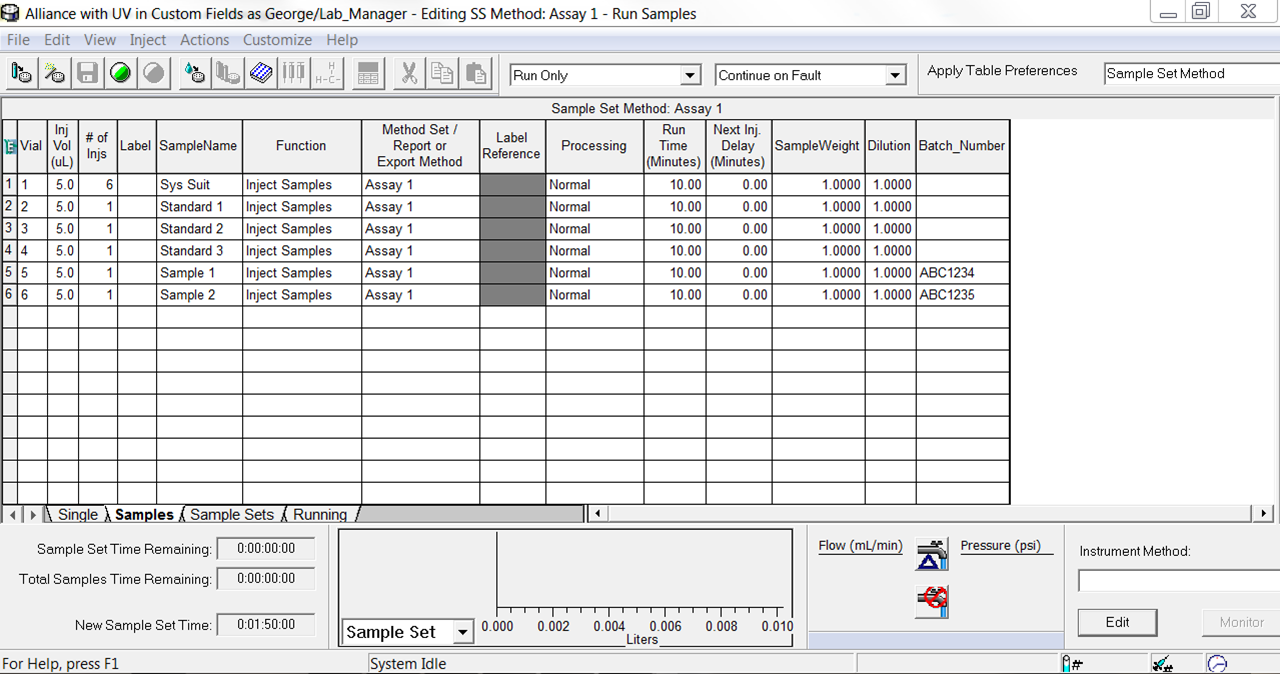
- Reopen the project and the new Custom Field will appear in several places. For example, when we go to the Run Samples window and create a Sample Set Method the new Sample field will appear on the far right side of the Samples table.
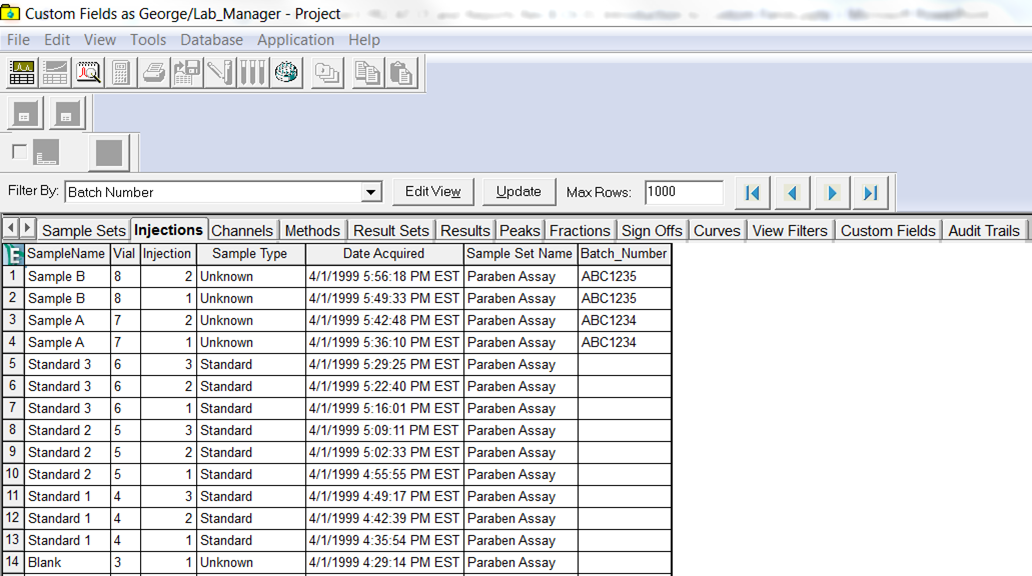
- You can include tailored sample identifiers in view filters to make finding specific samples easy.
It’s that easy!
ADDITIONAL INFORMATION
- Sample fields can be included in the report method as well.
- This procedure can be followed using the QuickStart or Pro interface.
Tip: Refer to Creating a New Text Field in Empower to help you complete this task.