How to acquire an image with DESI XS source on a SYNAPT G2-XS or Xevo G2-XS - WKB287509
Article number: 287509
OBJECTIVE or GOAL
Acquire a desorption electrospray ionization (DESI) image on a SYNAPT XS or Xevo G2-XS.
ENVIRONMENT
- DESI XS ion source
- SYNAPT XS
- Xevo G2-XS
- HDI 1.7
- MassLynx
PROCEDURE
- Perform instrument setup (detector setup and calibration), preferably using the ESI-Lockspray source enclosure.
- Install the DESI XS source as described in WKB254643.
- Configure the inlet file as described in section 4.7.1 ("Changing the inlet method") of the DESI XS Ion Source Overview and Maintenance Guide.
- Select a target slide (e.g., 700012809 Slide 26 mm x 76 mm or 700012675 Large slide low profile or 700012809 - 26mmX76mm,44 Well,Micro-44).
- Ensure that the correct target slide holder (small or large targets) is installed in the DESI XS source. If required, exchange it.
- Mark the upper-left corner of your DESI slide with the Stadler Lumcolor Black marker (700011044), m/z 666.0600 for negative polarity or the Sharpie Fine Point Red marker (700010626), m/z 443.2335 for positive polarity acquisition.

- Spot your target (e.g., tissue or spots with diluted sample).
- Take a photograph from the prepared DESI slide.
- Optimize the sprayer position as described in section 5.1 ("General operating parameters") of the DESI XS Ion Source Overview and Maintenance Guide.
- Set the flow (e.g., 2 µL/min 95% MeOH, 5% H2O or the default 98%MeOH, 2%H2O with 0.01%FA).
- Open the tune page, go to Operate and set the capillary voltage (typically 0.5 kV for positive and 0.3 kV for negative). These values might differ depending on the sprayer head (DESI XS) or connection type (thin or thick voltage cable). Generally observe the red value of applied voltage, which would be roughly 0.6 kV for positve mode and about 0.5 kV for negative polarity). Observe stability of the ion beam.
- From the DESI XS tab, open the DESI Source Control.

- Move the DESI sprayer outside the target to above the upper-left corner by clicking in that region. Then click select origin.
- Manually move the DESI sprayer toward the upper-left corner of the DESI slide and observe the point where the ink markers give the strongest signal.
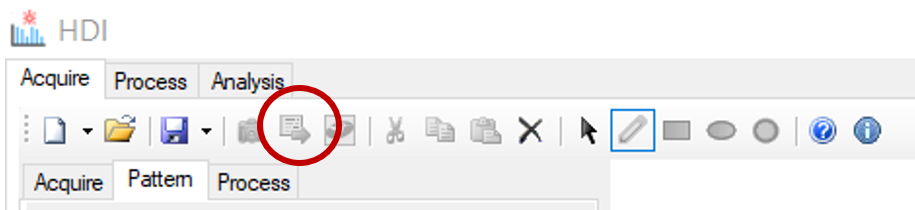
Set these coordinates as slot A Start point X and Y. - Open the HDI software and select add new plate.

- Using the software, select the image of your slide (jpeg), define slot A or B used and the correct dimensions of the microscope slide (you can measure that using a ruler), and define the four corners of your image clockwise.

- Define the acquisition parameters.

- Define the region for acquisition using the rectangle tool.

- On the Pattern tab, define the pixel size (e.g., 50 µm) and adjust the acquisition rate in µm/sec to achieve, for example, 0.5-1.0s scan time.

- On the Processing tab, define the processing parameters:
- Number of most intense peaks might be 100-2000
- Mass Window is MS peak width (here 0.038) plus tolerance (here 0.05) without lockmass, with lockmass about 0.02 for a resolution of about 20000.
- MS Resolution as determined with ResCalc (or determined at tune page at intensity of 1e4).
- LockMass can be applied in solvent but tends to cause ion suppression and deposit on tip of emitter. Proper flushing after use would be required. Hence, internal endogenous lock mass (e.g., Phosphatidyl-Choline C4H82NO8P [M+K]+ 798.54096, [M+H]+ 760.58508 or Phosphatidyl-Inositol C47H83O13P [M-H]- 885.54985) might be advisable.

Note: Processing can be adjusted later. - Save the pattern file (.pdm).
- Export the MassLynx worksheet with current settings in .txt format. Note: File will be saved in the Sample DB folder of the selected project.

- In MassLynx, select import work sheet, define file type csv, txt and select the exported worksheet that is saved in the projects SampleDB folder.
- The MassLynx sample file is generated, including the MS file, the parameter file, and the processing option.

- Note: The correct sample list format (HDI.fmt) file can be loaded from install drive/HDI/docs.

- In MassLynx, save the sample list as an .spl file to your project in the SampleDB folder.
- From MassLynx, acquire and process the data.

- When the acquisition is completed, HDI will process the data.
Note: Some error warning might be normal. - Import the data to HDI from within the Analysis tab.

- Import your image file, if intended, and align the image with the acquired data.

ADDITIONAL INFORMATION