How to use peak labeling options in Review and the Report Method - Tip17
Article number: 50372
OBJECTIVE or GOAL
Have you ever had the need to label your peaks with something other than peak name and retention time?
- Prior to Empower 3 FR3, the choices for labeling peaks were:
- Peak name or library match name (if you were doing PDA or MS Library searching);
- Retention time or scan number (if you were working with MS data);
- Or you could opt for labeling the peaks with peak labels as defined in the processing method.
- Working with Empower 3 FR3, we can label each peak with up to three different fields including custom fields and assigned mass if we are working with the ACQUITY QDa Detector.
ENVIRONMENT
- Empower
PROCEDURE
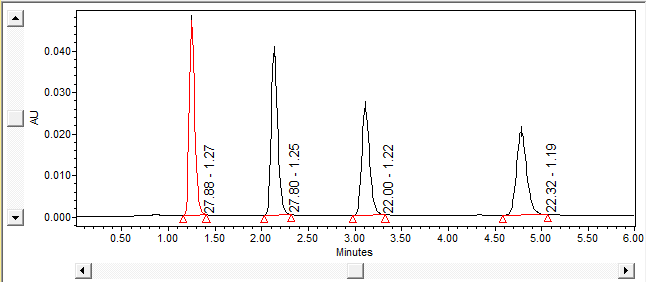
- We start out in Review with a result. The peaks are labeled with peak name and retention time.
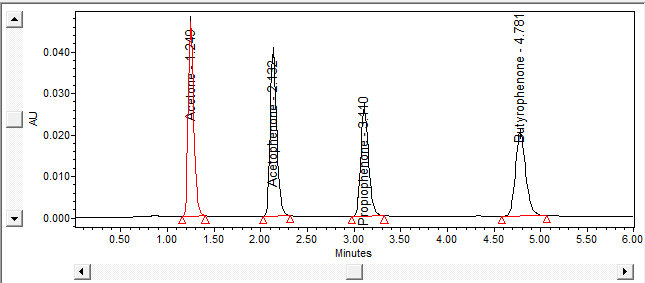
- We start out in Review with a result. The peaks are labeled with peak name and retention time.
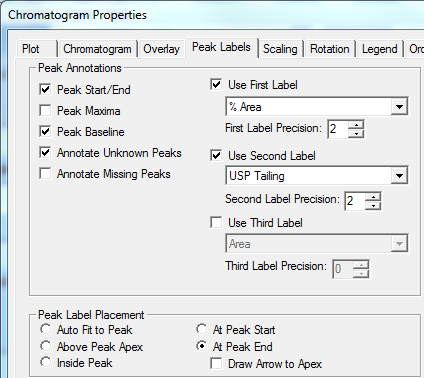
- Click on the Peak Labels tab to change how the peaks are labeled.
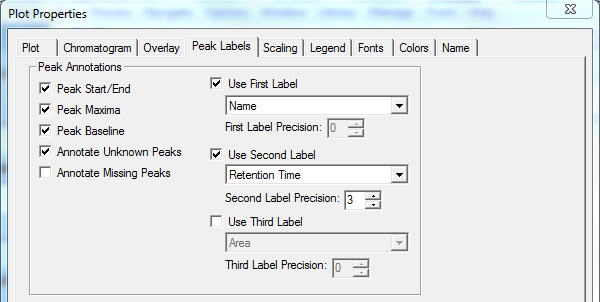
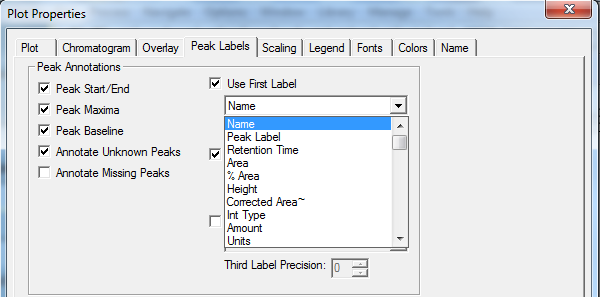
- Select the desired field from the drop-down list for up to three labels.
- Move the peak labels away from the peaks so that they are not obscured.
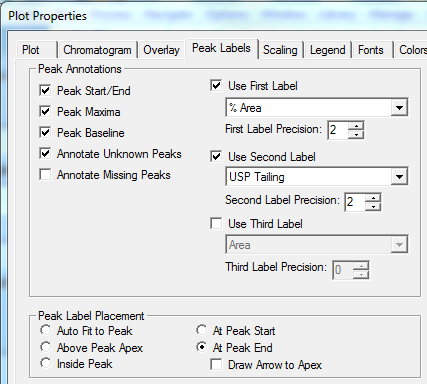
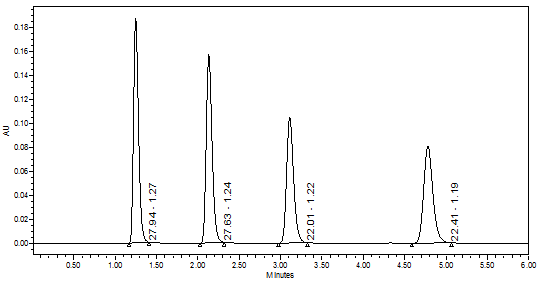
- Click OK to the chromatogram properties. Now the peaks are labeled with the fields of interest, in this case %Area and USP Tailing.
- Now, in the Preview window, looking at the report, you can make a similar change to the chromatogram. Start by clicking Edit Method in the tool bar.
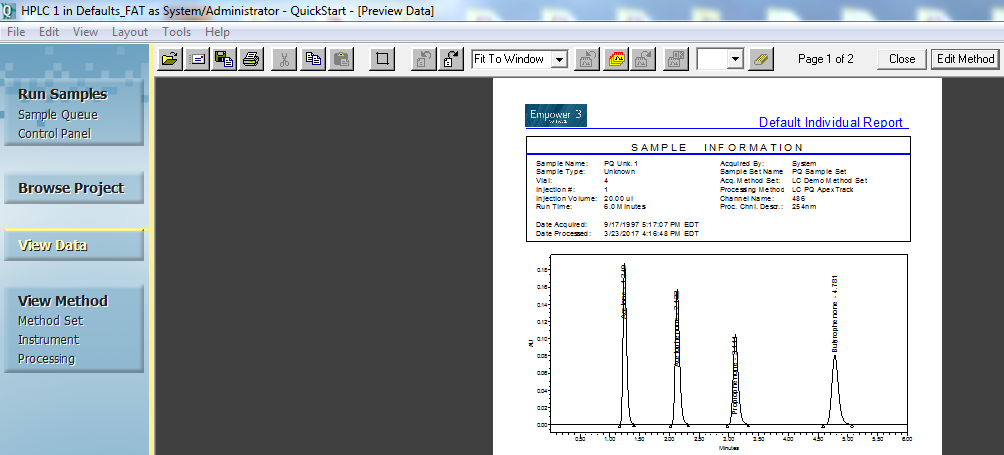
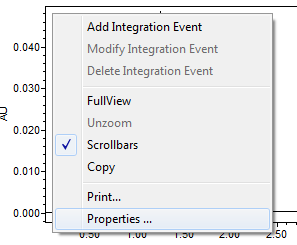
- Once inside the report publisher, right-click on the chromatogram and select Chromatogram Properties .
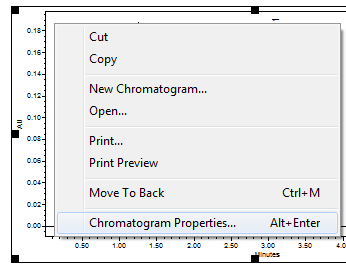
- Select the Peak Labels tab and make the same changes.
- Click Print Preview and we see the peak labels have been added to the report method.
ADDITIONAL INFORMATION
id50372, EMP2LIC, EMP2OPT, EMP2SW, EMP3GC, EMP3LIC, EMP3OPT, EMP3SW, EMPGC, EMPGPC, EMPLIC, EMPOWER2, EMPOWER3, EMPSW, SUP