How do you create a view filter, make it public and copy it to other projects in Empower? - WKB82159
Article number: 82159
OBJECTIVE or GOAL
Create a view filter to show the sample set ID (SSID), make the view filter public so other users can see it, and copy it to other projects.
ENVIRONMENT
- Empower
- Project view
- View filters
- Public view filter
PROCEDURE
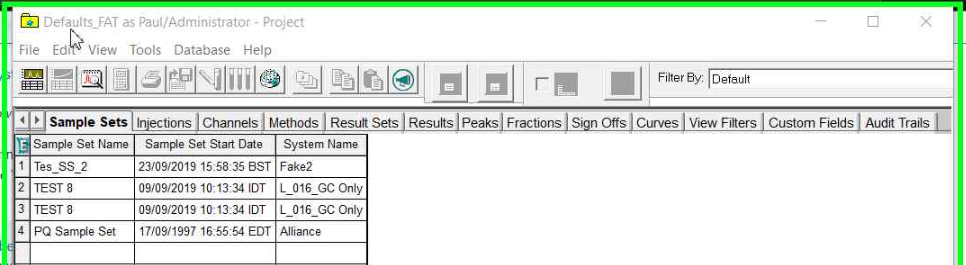
- Open the project in which you want to create a view filter.
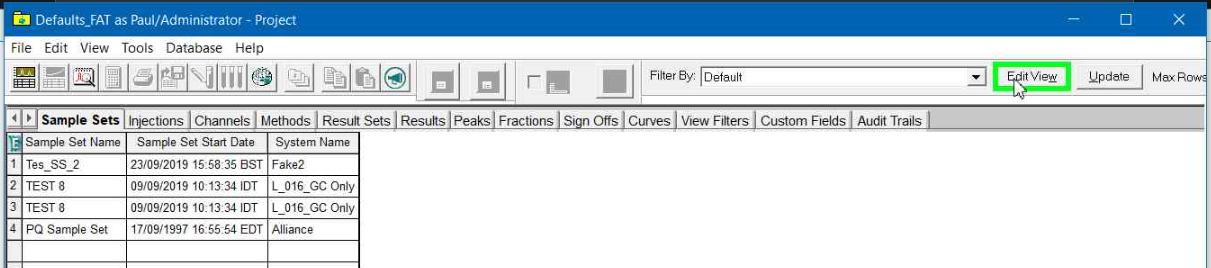
- Click on the Edit View button.
- Select the fields you want from he field names pane.
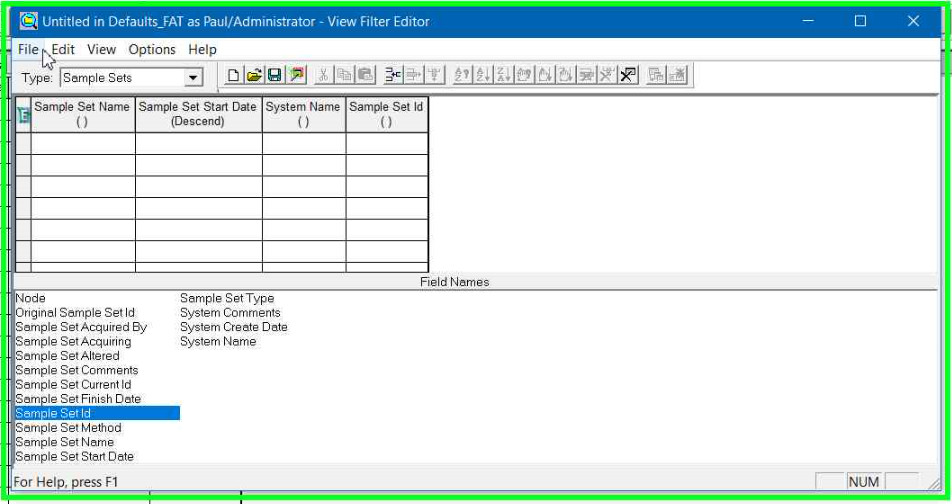
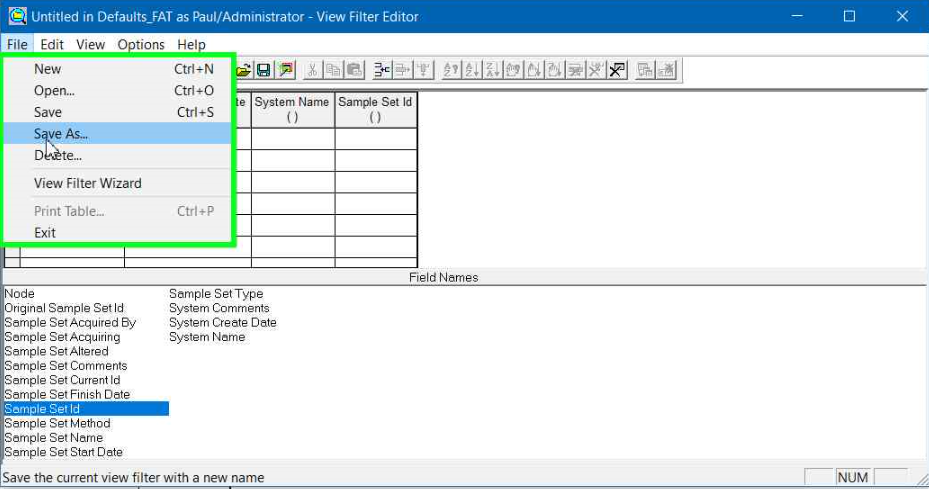
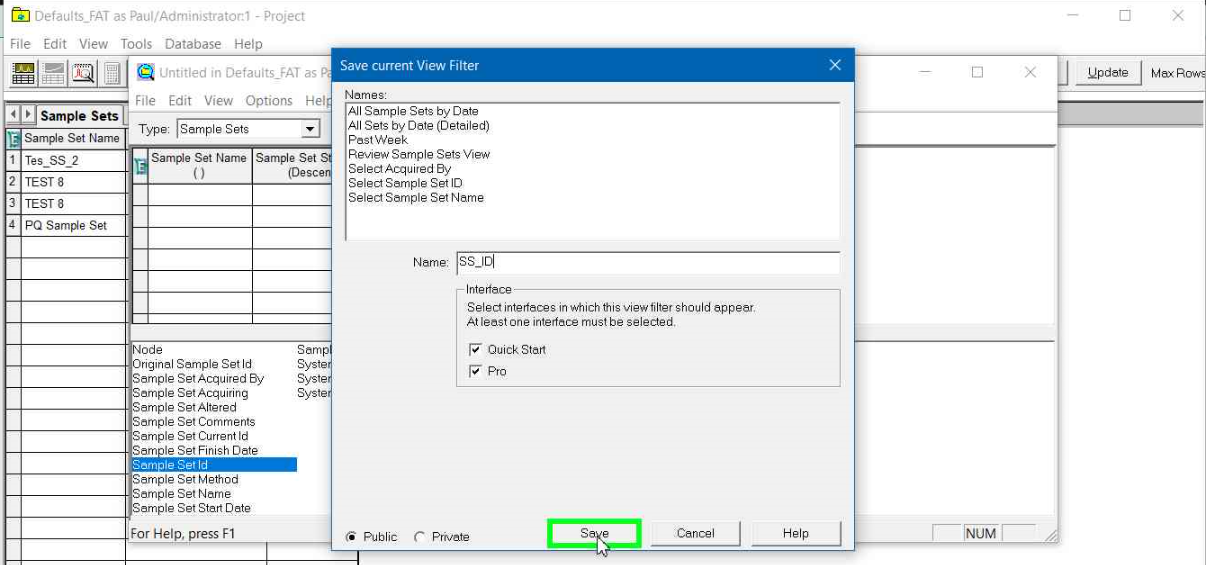
- Double-click the field or drag it into the table pane, and then click File > Save As.
- Select the PUBLIC radio button, ensure that both interfaces are selected, and give the view filter a meaningful name.
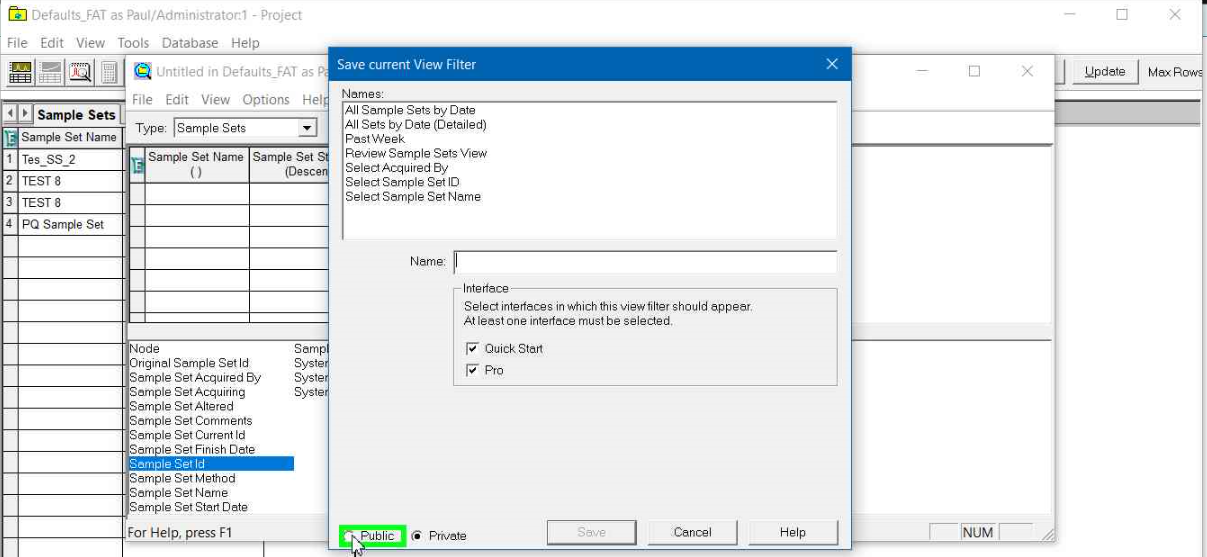
- Click SAVE.
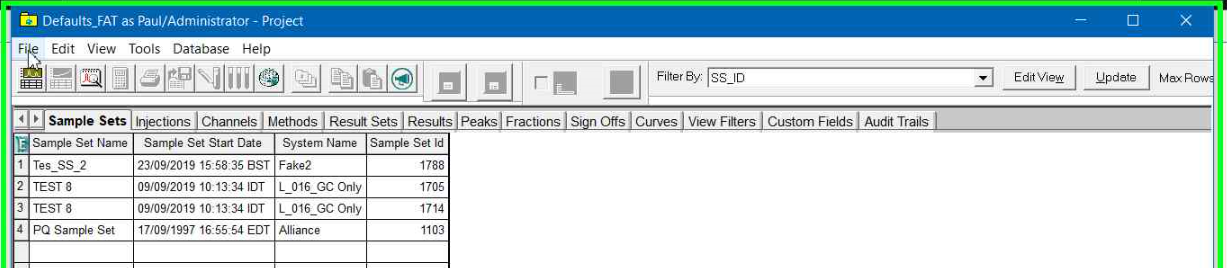
- If it's not already selected, select the created filter from the drop-down list. Ensure that the required fields are displayed.
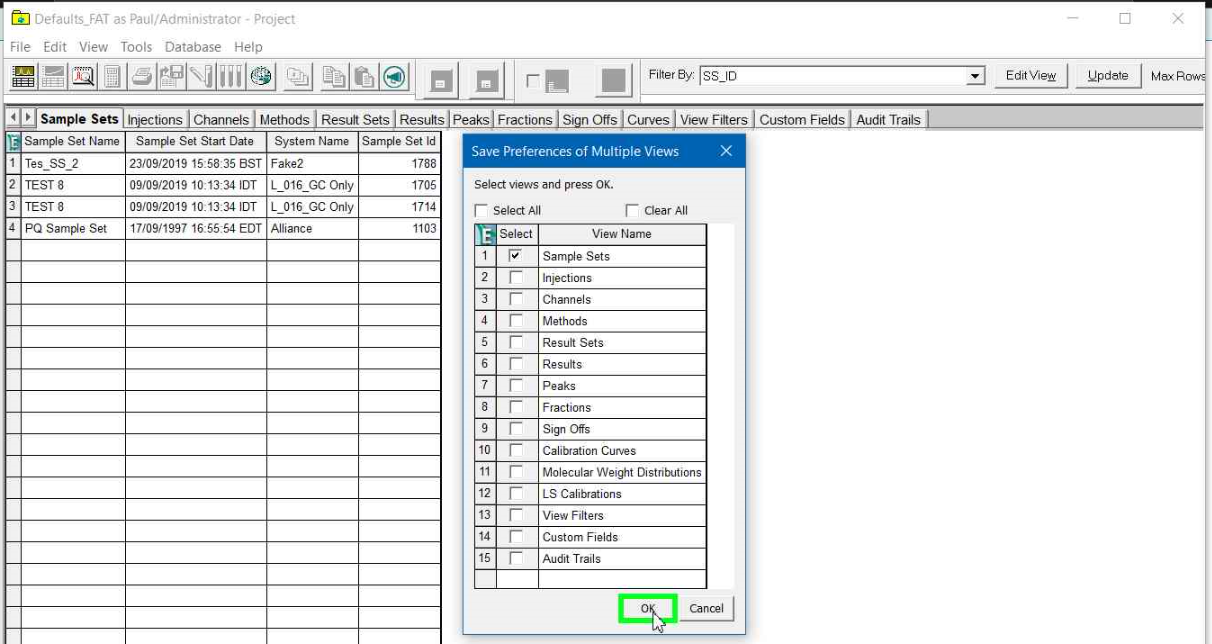
- Click FILE, and then use the options to save view preferences, or save preferences for multiple views.
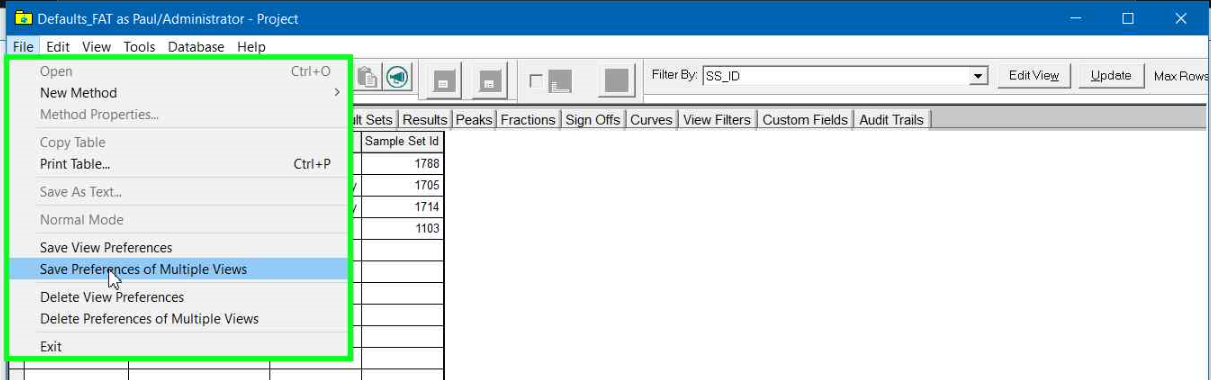
- Select the Views to save.
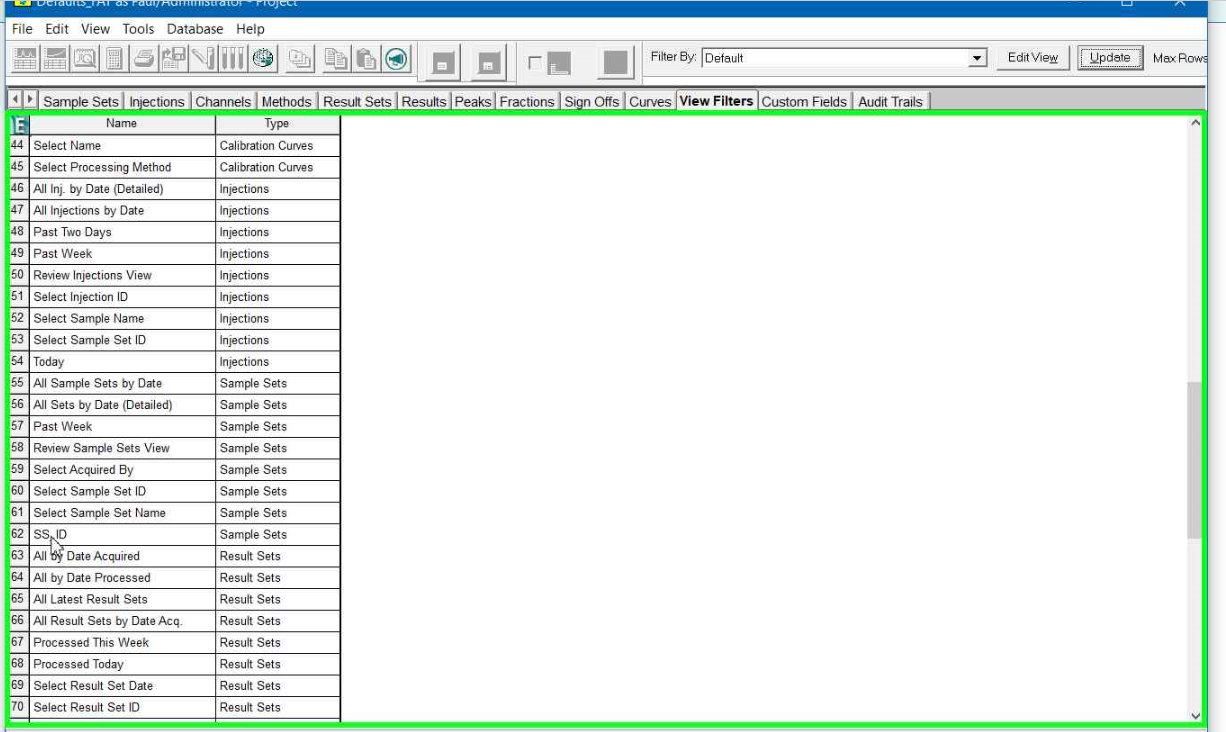
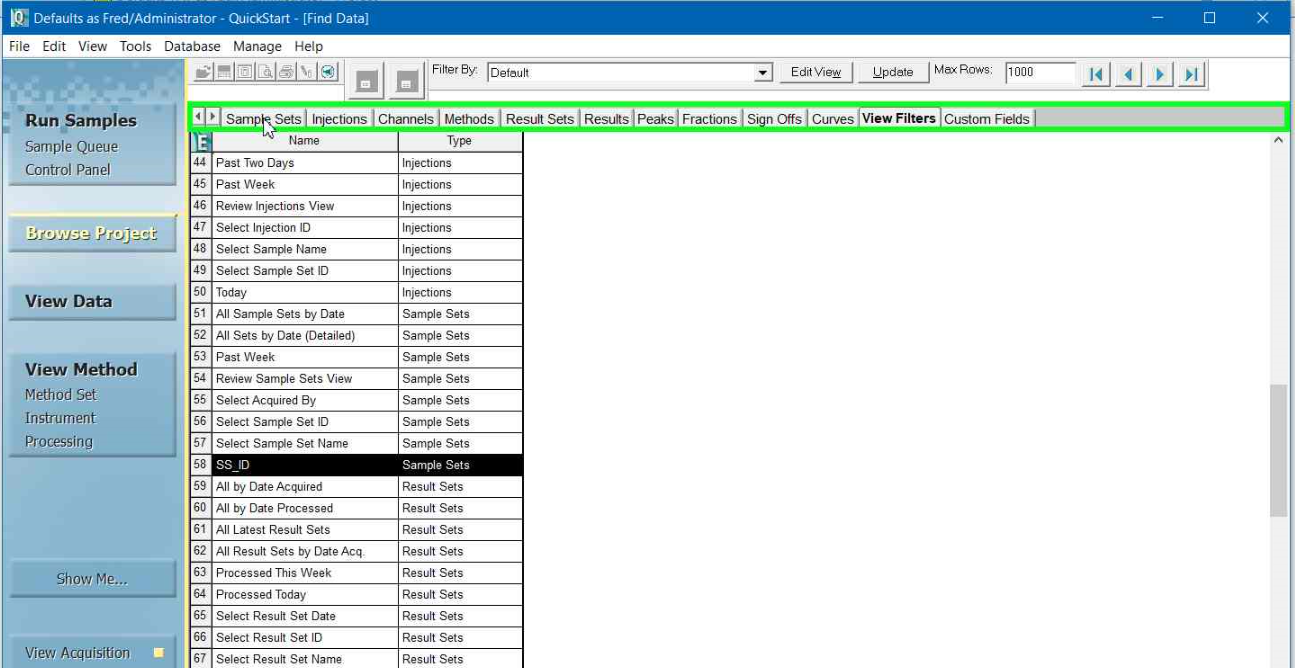
- Navigate to the VIEW FILTERS tab in the project.
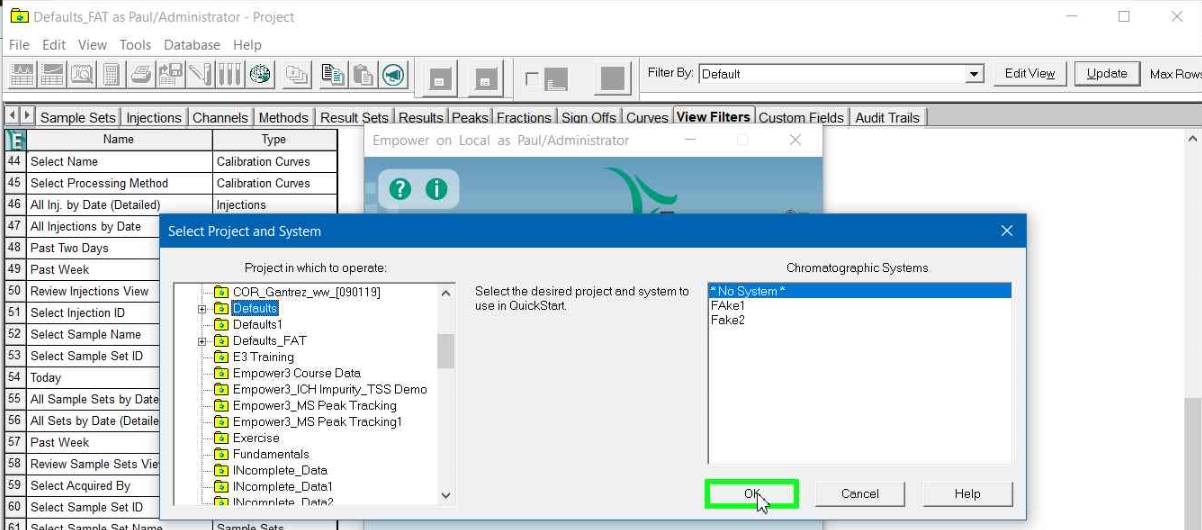
- Right-click on the required view filter and select COPY TO PROJECT. Select the project to copy to.
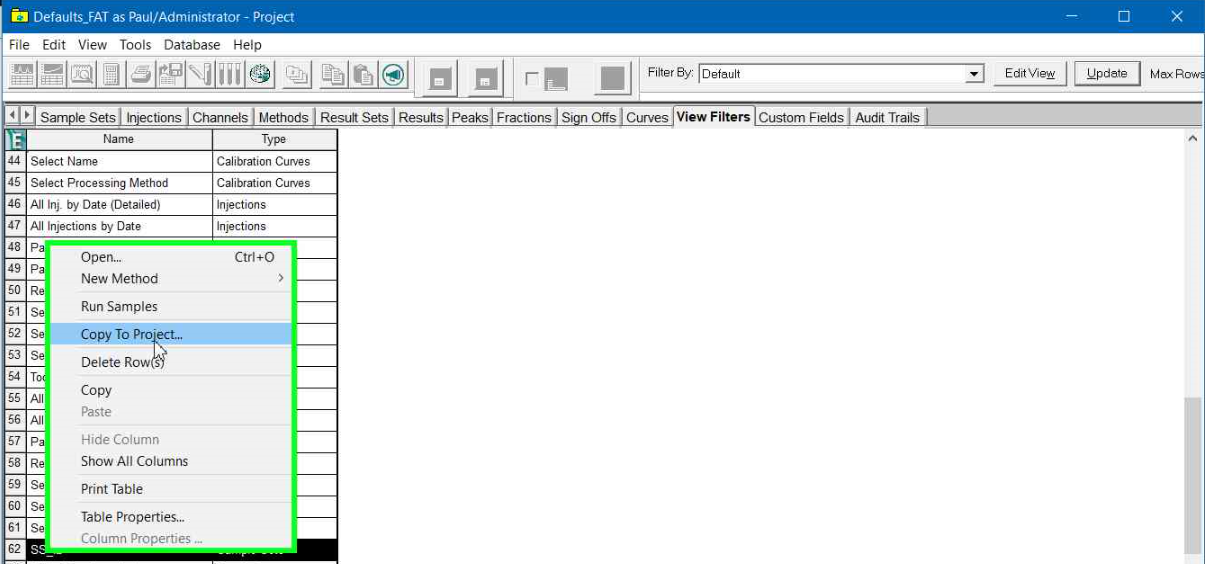
- Copy to all projects that need the view filter.
- Close all open connections to the projects to which you copied the view filter.
- Log in to Empower as another user and open a project to which you copied the view filter.
- The copied view filter should appear in the Filter By drop-down box. You can confirm by navigating to the View Filters tab.

- Save view preferences as required and repeat for others users.
- You can copy the view preferences to other users and projects from the Configuration Manager.
- You can also show all columns for a project tab by right-clicking on the column headers and selecting SHOW ALL.
ADDITIONAL INFORMATION
Filters that begin with ! are private.
id82159, EMP2LIC, EMP2OPT, EMP2SW, EMP3GC, EMP3LIC, EMP3OPT, EMP3SW, EMPGC, EMPGPC, EMPLIC, EMPOWER2, EMPOWER3, EMPSW, SUP