CTC PAL 3: How to change between Headspace and liquid injection heads in MassLynx - WKB310296
Article number: 310296
OBJECTIVE or GOAL
Change heads and racks in a MassLynx-controlled system.
ENVIRONMENT
- CTC PAL 3
- MassLynx
- Headspace
PROCEDURE
- Change the PAL tool.
- Change the racks as required.
- Go into extended service on the PAL 3 and add/remove racks as required—for R60 trays there will be only one in rack 1; non-R60 trays will have three racks total in slots 1-3. For R60, delete Racks 2 and 3 if present. For non-R60, add racks 2 and 3 if they are not there.
- Close the inlet editor.
- Close MassLynx.
- Using the desktop icon, stop MassLynx processes.
- Using the desktop icon, reset PAL3, and then wait about two minutes for the processes to restart
- Open the Agilent Preconfigurator.
- Type “localhost” in the IP Address / Host Name field:

- .Select 192.168.0.40 and click Configure

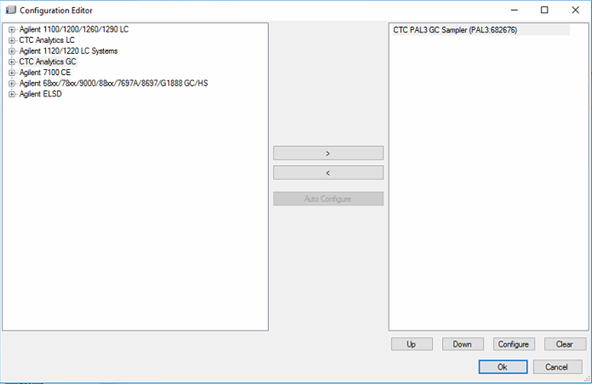
- Select CTC Pal 3 in the right-hand pane and click Configure.
- Click Retrieve Configuration, and then click Tray Configuration.
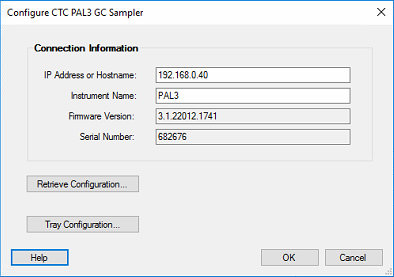
- Click OK twice to close the windows.
- Open MassLynx.
- Open the inlet editor, and wait a minute.
- When the Ready and OK indicators are green, open the autosampler from the left-hand pane of the Inlet Editor window. The following message appears if the head was changed:

- Click Yes.
- Change the script to the one matching the head and set it up.
- Save the changes to the Inlet Method.
ADDITIONAL INFORMATION
How does a Headspace sample preparation occur on a GCMS instrument? - wkb97285