What is the procedure to replace and configure the sample loop in an Alliance 2695 separations module? - WKB56385
OBJECTIVE or GOAL
Replace and configure the sample loop in an Alliance 2695 separations module.
ENVIRONMENT
- Alliance HPLC system
- 2695 Separations Module
- 2695D Dissolution Separations Module
PROCEDURE
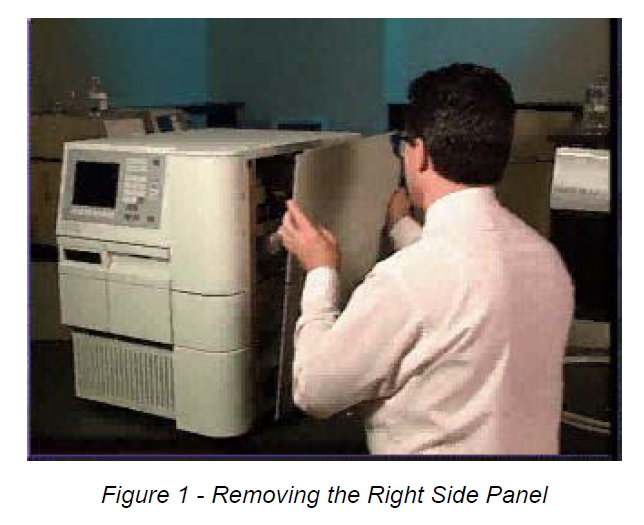
Removing the right-hand side panel
- Turn the 2690 Separations Module off and disconnect the power cord.
- Remove the two screws that secure the right-hand side panel to the instrument.
- Slide the panel back far enough to clear the posts on the rear panel and remove it from the instrument (Figure 1).
Removing the sample loop
1. Using a 5/16-inch open-end wrench, disconnect the sample loop from the injector.
2. Disconnect the sample loop from the pressure transducer, and then remove the loop.
Installing the new sample loop
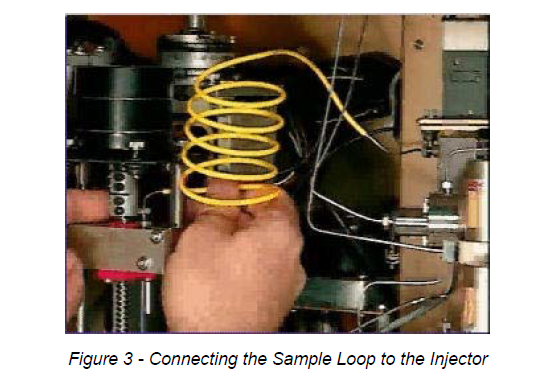
To install a 100-μL or 200-μL sample loop:
1. Connect the new sample loop to the pressure transducer (Figure 2).

2. Connect the other end of the sample loop to the injector (Figure 3).
To install a 2000 μL sample loop:
- Use the 5/16-inch wrench to disconnect the sample loop at the pressure transducer.
- Connect a union (provided in the startup kit) to this end of the sample loop.
- Connect the new sample loop to the other end of the union.
- Connect the other end of the new sample loop to the pressure transducer.
Configuring the 2690 for the new sample loop
If the new sample loop differs in size from the old one, you must change the size on the Configuration screen.
1. Start at the main screen and press the Configure screen key.
2. Press the right arrow key to highlight the Loop Size field.
3. Enter the new volume for the sample loop.
4. Press the Exit key to exit this menu.
5. Perform a Purge and Compression test to remove any air from the tubing.
6. Larger size loops may require a change to a larger size syringe.
The replacement of the syringe will need to be programmed on the Configuration page.
Example: a 2 ml loop would be matched with a 2500ul syringe.
2ml loop (part number: WAT096106)
2500ul syringe (part number: WAT077342)
ADDITIONAL INFORMATION
VIDEO on Waters.com Replacing the Sample Loop on a 2695
id56385, 2690, 2690D, 2690DUPGD, 2690UP, 2695, 2695D, 2695DE, 2695DEB, 2695DUP, 2695E, 2695EB, 2695INERT, 2695UP, A-10SSM, ALLCOLCLR, ALLCOLHTR, ALLCOLHTRB