How to perform the ACQUITY UPLC BSM and QSM dynamic leak test - WKB46882
Article number: 46882
OBJECTIVE or GOAL
Perform the dynamic leak test for ACQUITY BSM, QSM, and ISM pumps.
ENVIRONMENT
- ACQUITY UPLC I-Class Binary Solvent Manager (BSM)
- ACQUITY UPLC BSM (Firmware 1.50 or higher)
- ACQUITY APC
- ACQUITY APC Isocratic Solvent Manager
- ACQUITY Arc
- ACQUITY Arc Premier
- ACQUITY UPLC
- ACQUITY UPLC H-Class
- ACQUITY UPLC H-Class Bio
- ACQUITY UPLC H-Class Quaternary Solvent Manager (QSM)
- ACQUITY UPLC I-Class
- ACQUITY UPLC H-Class PLUS
- ACQUITY UPLC H-Class PLUS Bio
- ACQUITY UPLC I-Class PLUS
- ACQUITY UPLC M-Class
- nanoACQUITY UPLC
- ACQUITY Premier System
- MassLynx
- Empower 3
- UNIFI
- waters_connect
PROCEDURE
NOTE: Before performing the test, it is reccommended that the pump head seals are "exercised" for 30 minutes by preparing the system to achieve a system pressure typically used for the methods run - for example, 10,000 psi.
- Ensure that the solvent line is fully submerged in solvent in the solvent reservoir.
- Open ACQUITY Console.
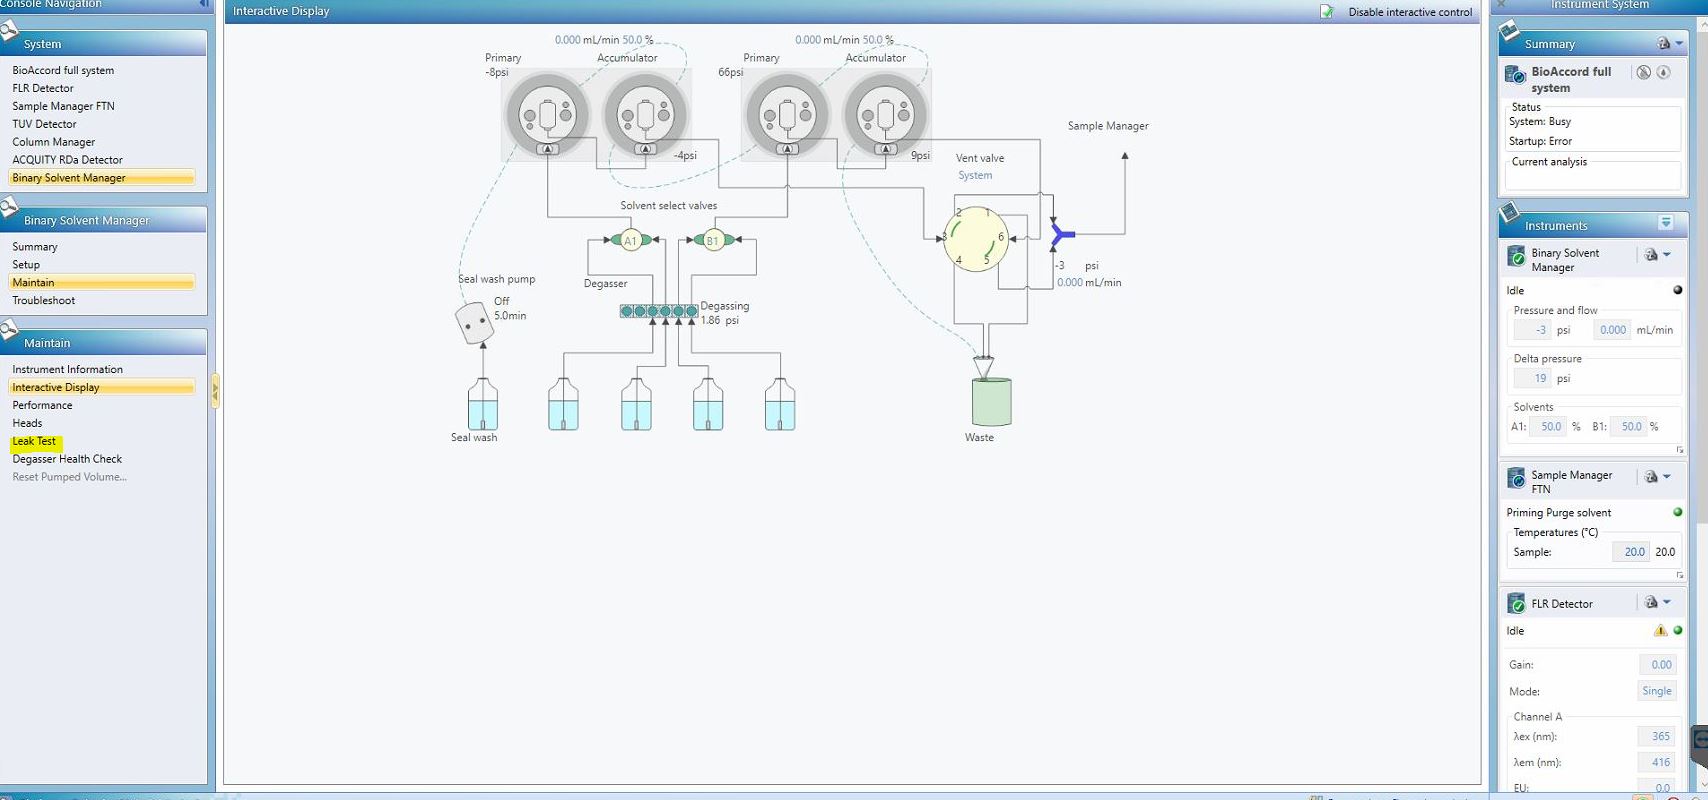
- Select the BSM/QSM/ISM from the system tree on the left-hand side of the screen (expand the system tree by clicking the "+" sign if needed).
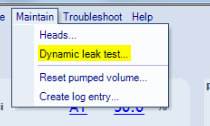
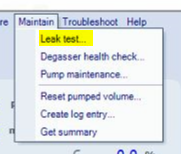
- Select "Maintain" from along the top of the window (see Additional Information below)
- Select "Leak Test" or "Dynamic Leak Test" if available.
- Keep the default pressure for accumulator and primary unchanged (14000 psi) and choose endpoint = Vent Valve.
- Select the appropriate pump (if BSM, this will be A or B), solvent line, vent valve position, check Prime and then click "Start".
- The Pump will Prime for 2 minutes then the test runs. Test results will show after the test is completed.
- Repeat for Pump B [if it is a Binary Solvent Manager (BSM)].
- If the test fails, ensure the solvent lines are filled with mobile phase via visual inspection, prime the solvent lines again and run the leak test once more.
- The tests on Step-8 and Step-10 would test the Pumps' condition up to the point of Vent Valve.
- Remove the column and attach a Union (700002637) plugged with High Pressure pin (700002747) to the active preheater (or column inlet tubing).
Note: Tighten the pin plug towards the column inlet tubing a little more than finger-tight to make sure it's leak free.
- Repeat the Dynamic Leak Test with endpoint column selected (Needle and Seal not included).
Note: Either the A or B side can be used to do that test. - Finally, repeat the Dynamic Leak Test with endpoint column selected (Needle and Seal included).
ADDITIONAL INFORMATION
Within ACQUITY console (for MassLynx and Empower)
Within UNIFI or waters_connect
VIDEO on Waters.com How to perform a QSM-R leak test
diagnostics_-qsm-r-leak-test.mp4