How to change the temporary files folder used by UNIFI to import and export UEP files - WKB47013
Article number: 47013
OBJECTIVE or GOAL
Change the location of the temporary folder used by UNIFI to import and export UEP files, to avoid filling up the system drive (C:\) with temporary files and not being able to import and export larger UEP files.
ENVIRONMENT
- Windows 7, 64 Bit, Professional
- Windows 10, 1607 LTSB
- UNIFI 1.9.4
- waters_connect 3.0
PROCEDURE
- Log into the account used when UNIFI was installed.
- Close ALL programs, including UNIFI, and terminate relevant processes.
- Create a System Restore point.
- Open Start Menu > Computer.
- Right-click Properties.
- Select "Advanced Settings".
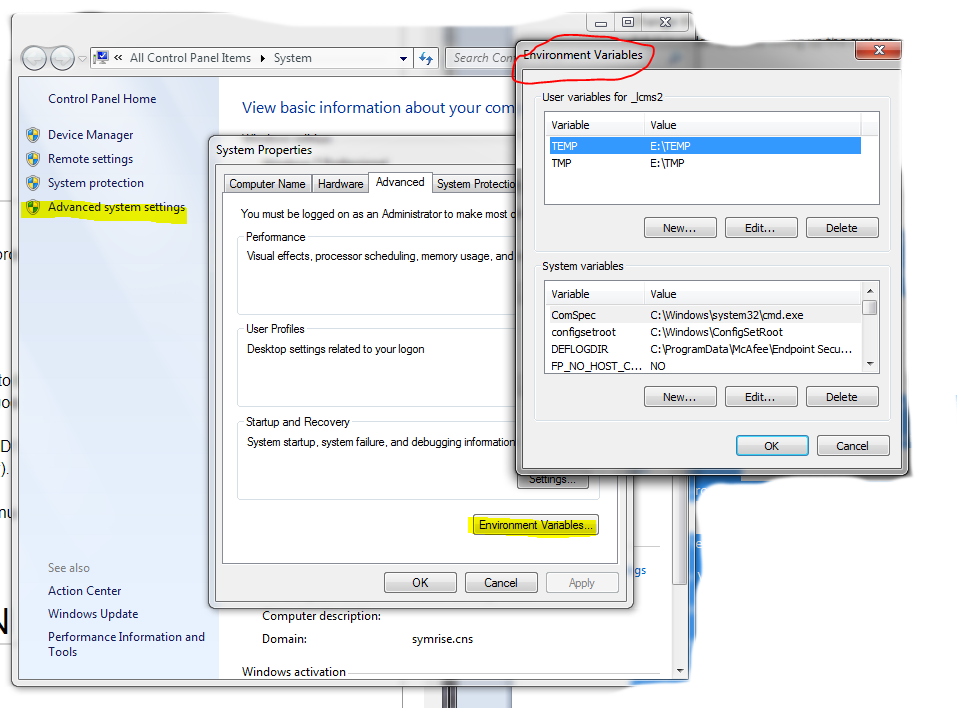
- Search for "Environment Variables".
- Click on "Edit Environment Variables for your Account".
- Create a folder named "Temp" where you want the new folder to be located (if you haven't already done so).
- For UNIFI PCs, the root of the data drive can be on an additional drive.
- Click on Temp variable, and click Edit.
- Enter the new Variable Value (the location of your new folder (e.g., "D:\Temp"), and click OK.
- Select "TMP" Variable and change its value to the same folder.
- Click OK and restart your computer.
- Verify that the change has been applied correctly.
- Open the Start Menu and type "%Temp%", without the quotation marks.
- Open the "Temp" folder.
ADDITIONAL INFORMATION
id47013, SUPUNIFI, UNIFISVR, UNIFISW18, UNIFOPT, UNIFQLIC, UNIFSW17, UNIFSW18, UNIFSW19, UNIFWGLIC, UNIFWKLIC