How to create a new project in Empower software - WKB6510
Article number: 6510
OBJECTIVE or GOAL
How to create a new project in Empower software.
ENVIRONMENT
- Empower
PROCEDURE
- Log in to the Pro interface.
- Click on Configure System.
- Click File > New Project.
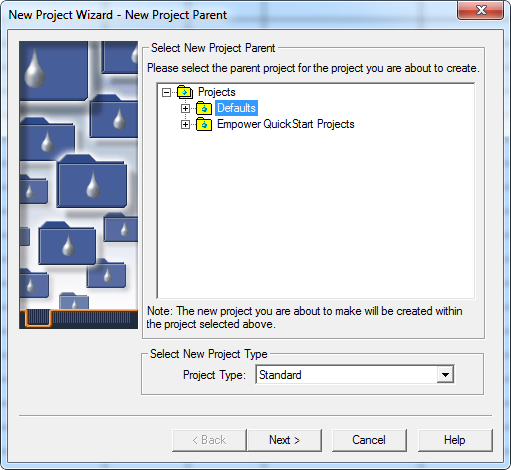
- Use the New Project Wizard, select the parent project of the new project firstly, then click Next.
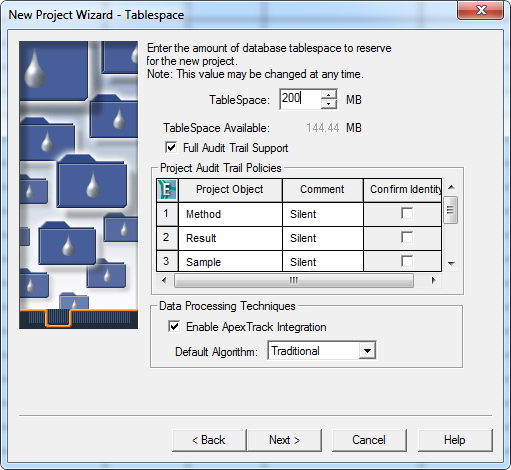
- The table space is recommended to be at least 200M. Support for Full Audit Trail means enable Audit Trail. Comment indicates whether a comment is required to perform an operation, Silent means that no comment is required, and Unrestricted means that there is not restrictions on the comment, and Restricted means that the comment content can be only selected from the specified character strings. Confirm Identity means that you need to enter your password to complete an operation.
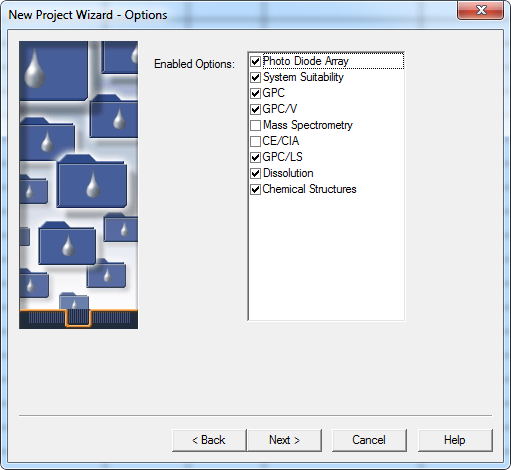
- Select the option that is enabled for the project
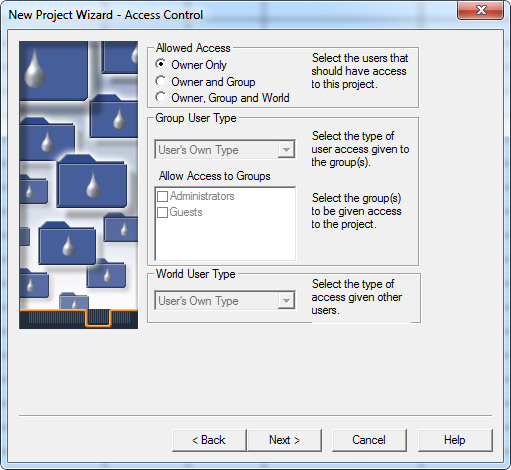
- Select a visitor for the project
- Select a copy object for the new project, Defaults is the default selection.

- After naming the new project, click “Finish”, and the project with Audit Trail enabled needs to be annotated.
ADDITIONAL INFORMATION
For additional information, go to Empower Help and search on Create Projects.